Installation (SFTP, FTP...)
ALTHOUGH WE HAVE FULLY TESTED THE INSTALLATION OF THIS EXTENSION, WE ALWAYS RECOMMEND THAT YOUR TAKE A FULL BACK UP OF YOUR WEBSITE FILES AND YOUR DATABASE BEFORE PROCEEDING WITH THE INSTALLATION STEPS.
WE DO NOT ACCEPT ANY RESPONSIBILITY FOR ANY LOSS OF DATA DURING THE INSTALLATION OR USE OF THIS EXTENSION.
Step One
Download and unzip the CSM-M2.zip file from your My Purchases area of your Magento account.
Step Two
Connect to your website source folder with FTP/SFTP/SSH and upload all of the extension files and folders from the extension package to the root folder of your Magento installation:
Please use MERGE upload mode.
DO NOT replace the whole folders, but instead merge them. This way your FTP/SFTP client will only add new files. This mode is set by default in most FTP/SFTP clients software. If you install updated extensions from CSM, they may contain some files that are the same as those from the initial package — feel free to overwrite these, these are core files used by our extension.
Step Three
Connect to your magento root using SSH.
Run the following commands;
php bin/magento setup:upgrade
php bin/magento setup:di:compile
php bin/magento setup:static-content:deploy -f
php bin/magento cache:flush
Step Four
Finally, please log out of your Magento dashboard and then log in again.
Adding the Shipping Method
From within System > Settings > Configuration, select "Shipping Methods" located under the
 tab.
tab.
You will now see CSM Logistics Carrier listed in the Shipping Methods panel.
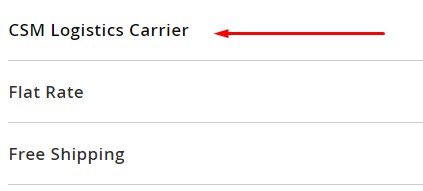
Click on the CSM Logistics Carrier tab to open the options panel. The following will guide you through the set up of this section;
Enabled;
This is a Yes/No option.
We recommend you continue to complete the other fields in this section BEFORE setting the Enabled field to "Yes".
Title;
This is the title your customers will see when selecting a shipping service during the checkout process. An example of this would be "SELECT YOUR SHIPPING METHOD".
Setup Your Shipping Charges;
Setting up your shipping charges couldn't be simpler. To begin, click 
A new section is now displayed. Simply select the service your require from the dropdown and assign a price to it in the Charge field.

Ship to Applicable Countries;
Here we can choose either "All Countries" or "Specific Countries"
Ship to Specific Countries;
If you have selected "Specific Countries" from the Ship to Applicable Countries dropdown the country list becomes available. Scroll down and click on the country you wish to ship to.
Tip; If you wish to ship to more than one specific country from any one store, you can hold the CTRL (Windows) or CMD (Apple) key down on your keyboard and multi-select your shipping destinations. Once finished, release the CTRL/CMD key.
Show Method if Not Applicable;
This means that if any other rules or methods are being applied which makes this shipping method non-applicable, then DO NOT display it.
Displayed Error Message;
This is the error message displayed if something should go wrong with this shipping method. The standard message is usually "This shipping method is currently unavailable. If you would like to ship using this shipping method, please contact us."
Sort Order;
Set a value to determine the order of display in the Shipping section of the Checkout process.
Set Your Store Information;
Set your Store Information by visiting Stores > Settings > Configuration and choosing General from the General tab.

Using the Extension
We have tried to make this extension as simple and intuitive as possible. Please read through the following steps that will walk you through your first Order > Shipment >Delivery process
Process Orders into Shipments;
To process a Sales Order into a Shipment is now very simple.
Navigate to Sales > Orders
On the Orders screen, you can select a single order, or multiple orders using the left hand check boxes.
Once you have all of the orders selected that you wish to convert to Shipments, simply click 

Ship Shipments with CSM Logistics;
If you thought processing Orders into Shipments was easy, this will blow your socks off!
Navigate to Sales > Shipments
On the Shipments screen, you can select a single order, or multiple shipments using the left hand check boxes.
Once you have all of the shipments selected that you wish to ship with CSM Logistics, simply click 

Ship Multi Package Shipments with CSM Logistics;
You may find that you have some orders that will require additional actions, for example, shipping multiple packages for one order.
Our CSM Logisitcs extension harnesses Magento's Multi Package power, but allows you to ship those packages using our services.
Shipping multi packages with CSM Logistics will automatically create shipping labels and tracking once the "Ship Selected with CSM" button is hit too.
So lets show you how, its really simple....
We will assume that you have created a Shipment from your Sales Order screen as outlined previously in this document, but now you need to ship TWO parcels for ONE order.
Navigate to Sales > Shipments
On the Shipments screen, click on the required Shipment to access the shipment screen.
You will notice a section labelled "Shipping and Tracking Information"

Click the 
Within the Create Packages window that has now opened on your screen, complete the Total Weight (if you haven't set weights at a product level) and Dimensions of the first package and click the Add Products button.

When you click the Add Products button, a section containing the items associated with your order become visible. Select the items you will be shipping in this package and click the Add Selected Product(s) to Package.

Once you have created a package, you can now click on the Add Package button once again and repeat the above process for additional packages until you have accounted for all of the products listed in your order.
DO NOT FORGET to complete the Total Weight (if you haven't set weights at a product level), Dimensions AND to click the Add Selected Product(s) to Package button once you have selected the order items for each package.
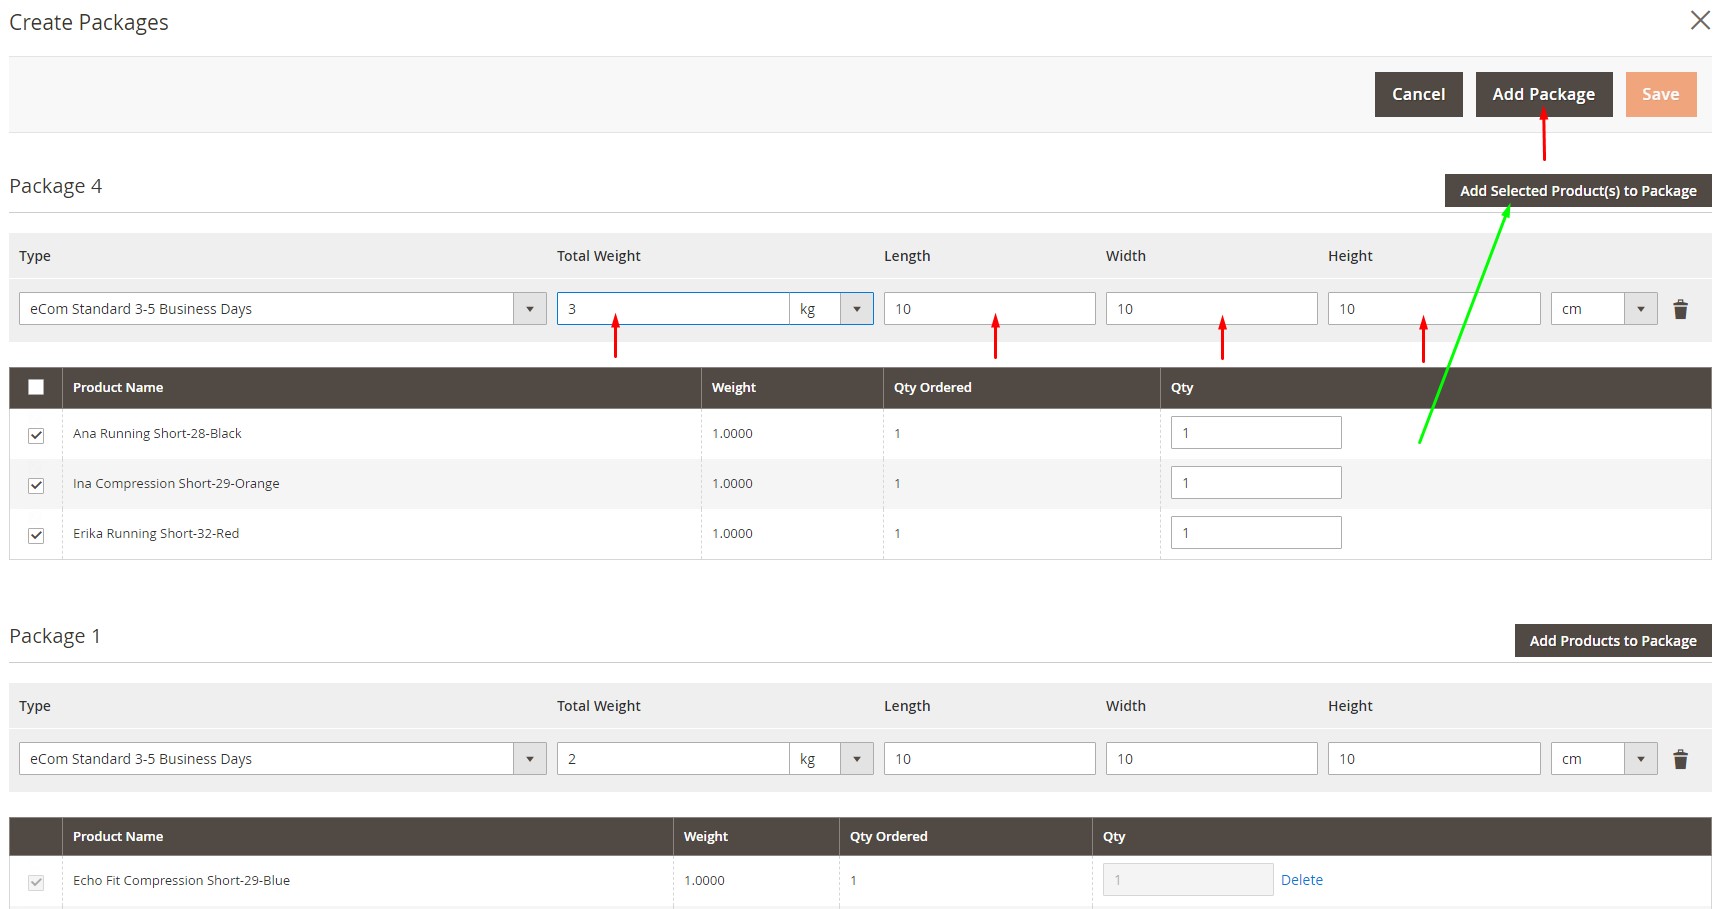
Once all items within your order have been added to a package, the Save button becomes clickable. Click ok for your packages to be created.
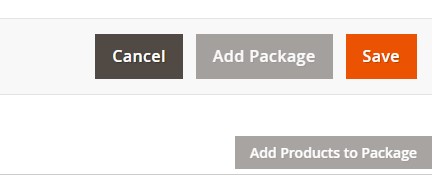
PLEASE NOTE.
this does NOT create a shipping label or ship the order, to do this, you need to refer to the Ship Shipments with CSM section just above.
Automatic Tracking Details;
So, now you've converted your Orders to Shipments and you've clicked the magic "Ship Selected with CSM" button, whats next????
Nothing!
You see, now you have processed your orders and sent the details to CSM Logistics HQ, we will now create all of your shipping labels and return your tracking numbers automagically for you.
If you hop back into any of the Shipments you have just processed, you'll see that you now have tracking information. You also have a column in both your Order grid and your Shipment grid that displays each orders delivery status.

Quick View Tracking Updates Admin/Frontend;
Finally, our CSM Shipping Extension has a couple more things to make life easier for the adminstrators of your site, and also your customers
Yep, we automatically update the delivery status of every order so your admin staff can see from the Sales > Orders or the Sales > Shipments grids exactly what stage in the shipping process each order is currently at.
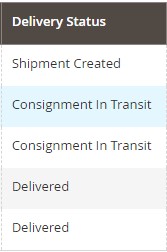
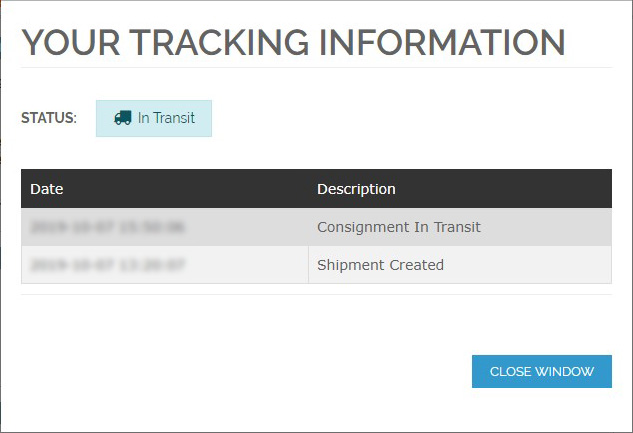
Not only does the extension automatically update the admin side, but it also updates the customers account with a new tracking window which displays the current status of their order along with a historical list of each stage of its journey

 tab.
tab.


